What I've Been Working On
A Tutorial for Mini (!) Patchwork Stars
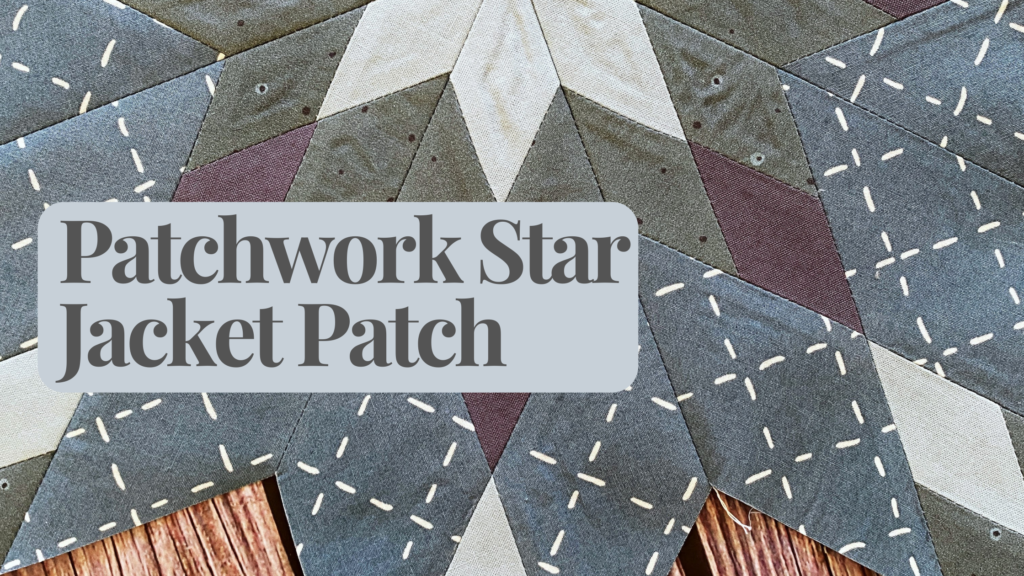
Patchwork Stars are so fun to make, especially in a mini version! I took the Hyalite Star pattern and sized it down 50% but you can use any pattern or block to make a patch.
-Use scraps! The cutting instructions use the length of a fat quarter (21 inches) but use what you have!
-You will need to purchase the Hyalite Star pattern for the details of sewing the star, this tutorial just shows the changes I made to the pattern 🙂
Step One: Fabric
You will need:
Fabric A & C – Cut 1.5×21 inch strips (2 from each fabirc)
Fabric B – Cut 1.5×21 inch strips (4 from each fabric
Background- Cut 2.5×21 inch strips (4)
Click on the picture for a visual guide to the fabric you need for this step:


Step Two: Sew
To sew the star, follow the instructions from the Hyalite Star pattern by Plains and Pine.

Finishing Up...

When all the diamond units are sewn, trim 1/4 inch off each side that has the Fabric C at the top. (Do not do this if you are adding background fabric to make the block a square!)

After you have two diamonds sewn together, I like to square up the block so it is more accurate.

Starching your fabric helps a lot when doing lots of tiny pieces.

